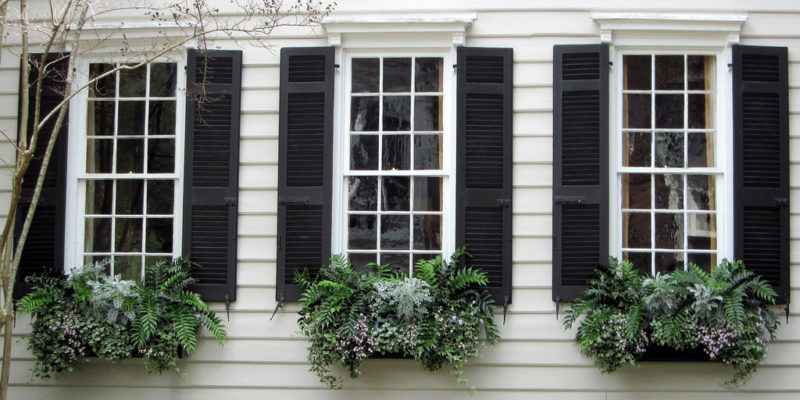
While sash windows offer a particular look and feel (to the point that they’re an almost indispensable feature of period properties), traditional wooden sash windows can be somewhat tricky to maintain. One particular problem arises when you come to paint them – do it wrong, and you’ll end up painting over the edges of the window and sealing it shut. Learn how to do it properly in our simple guide to painting sash windows.
What if my sash window is stuck?
If your sash window is stuck with paint, don’t panic – there’s an easy fix. All you need is a blade that’s thin enough to slice through the paint without interfering with the surrounding wood. A Stanley knife is an obvious candidate.
Run the knife slowly along the edge of the frame. If the paint proves too resilient, then your next step should be to use a steel scraper, and failing that, a hammer and chisel. You might find that any resistance offered by the window will vanish quickly, so don’t be tempted to risk damaging the window with too much force.
How to paint a sash window
Of course, it’s better to avoid the problem in the first place than have to fix it. By taking a little bit more care the next time you paint your window, you’ll be able to avoid having to break out the Stanley knife. Let’s run through how to paint sash windows so they don’t stick.
1. Remove the ironmongery
First, you’ll want to get rid of the ironmongery on your window. You’ll also want to clean up the existing layers of paint. If you don’t they’ll build up each time you paint the window, and eventually, the window will get stuck with paint.
To do this, simply sand down the wood and thoroughly clean up any dust you leave behind (since you really don’t want to paint over the top of it).
2. Paint the mullions
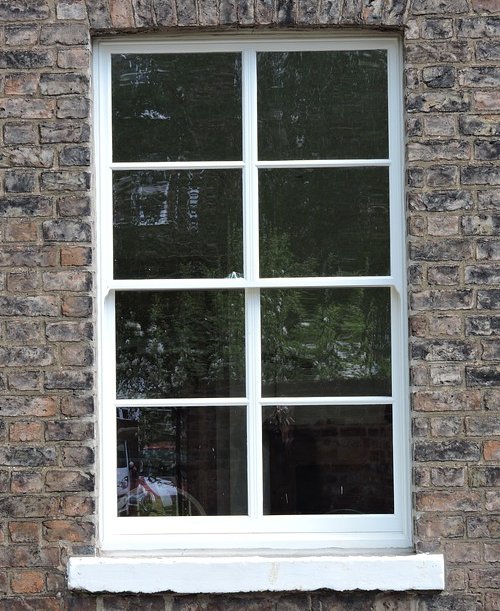
You’ll need to reverse the sashes in order to access every part of the window. The sash you’ve pushed to the top should be painted first, from the mullions (the elements that divide the window – as seen in the photo) outwards.
Paint one side and then the other, building up coats for a smooth finish. Repeat the procedure on the lower sash.
3. Paint the frames
Next, return to the topmost sash and paint the frame, along with the rebate into which the topmost sash will slot. Push the sash upwards but not so far that the painted surfaces meet (this is where sticks can develop). You’re almost done!
4. Paint the remainder of the window
Lastly, you can paint the casing and cill. You can then use a window-scraper to clean up any splatters you might have left on the windows.
Looking for new windows for your home? Browse our sliding sash or conservation windows or find out about our handmade bespoke windows.


